DIY Crate Bookshelf
Post by Christina Williams of justcallmechris.blogspot.com
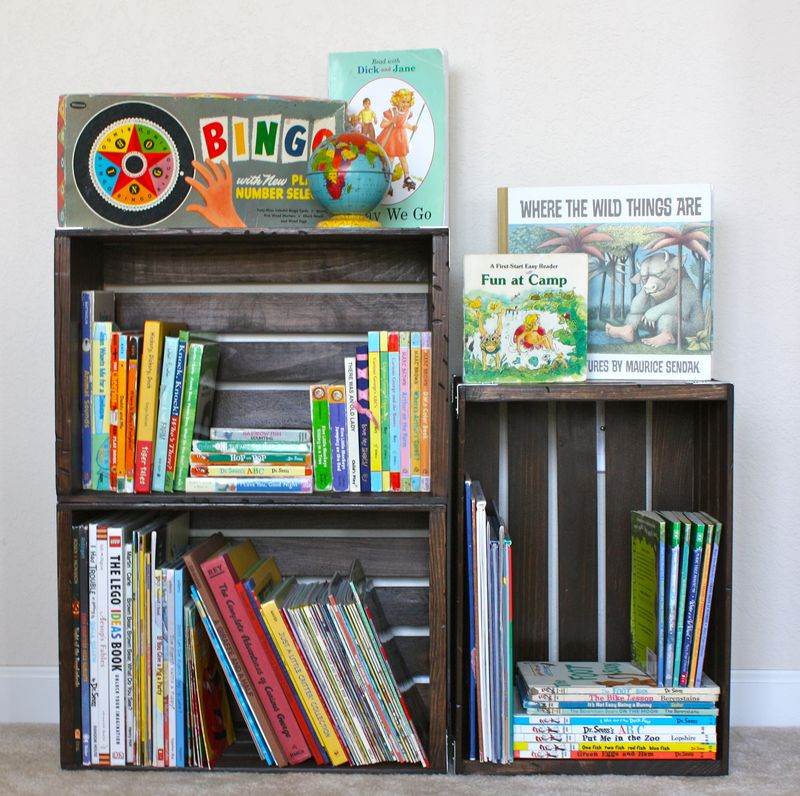
When we moved into our new home I realized pretty quickly that we needed a new storage solution for the kids’ books. I was in the mood for a little project so I decided to make something myself. I grabbed a few unfinished wooden crates and set to work. These things are a dime a dozen. You can find them at most craft or home improvement stores. If you have a coupon, you can usually get them for 7-10 bucks a piece.
Here’s a little play-by-play:
- Sand them down. Ugh. Sanding’s the worst part, right? My crates were pretty rough when I got them, so started with 80 grit, then 100, then 150. They’re not exactly silky smooth; my main goal was to smooth them up enough so the kids wouldn’t get splinters on their new bookcase.
- Beat ’em up. My kids LOVED this part (maybe a little too much). Get creative here…use nails, hammers, chisel, chains, anything to make scratches and dents. If your scrapes leave any rough edges, you may want to sand them down a bit.
- Stain. Make sure your crate is clean and free of dust, then stain it your desired color. I used my favorite stain (Rust-oleum Dark Walnut). They’ve got these nifty half pint cans that are perfect for a small project like this.
- Seal. Finish with a coat of polyurethane. I used Satin finish, because I didn’t want too much shine.
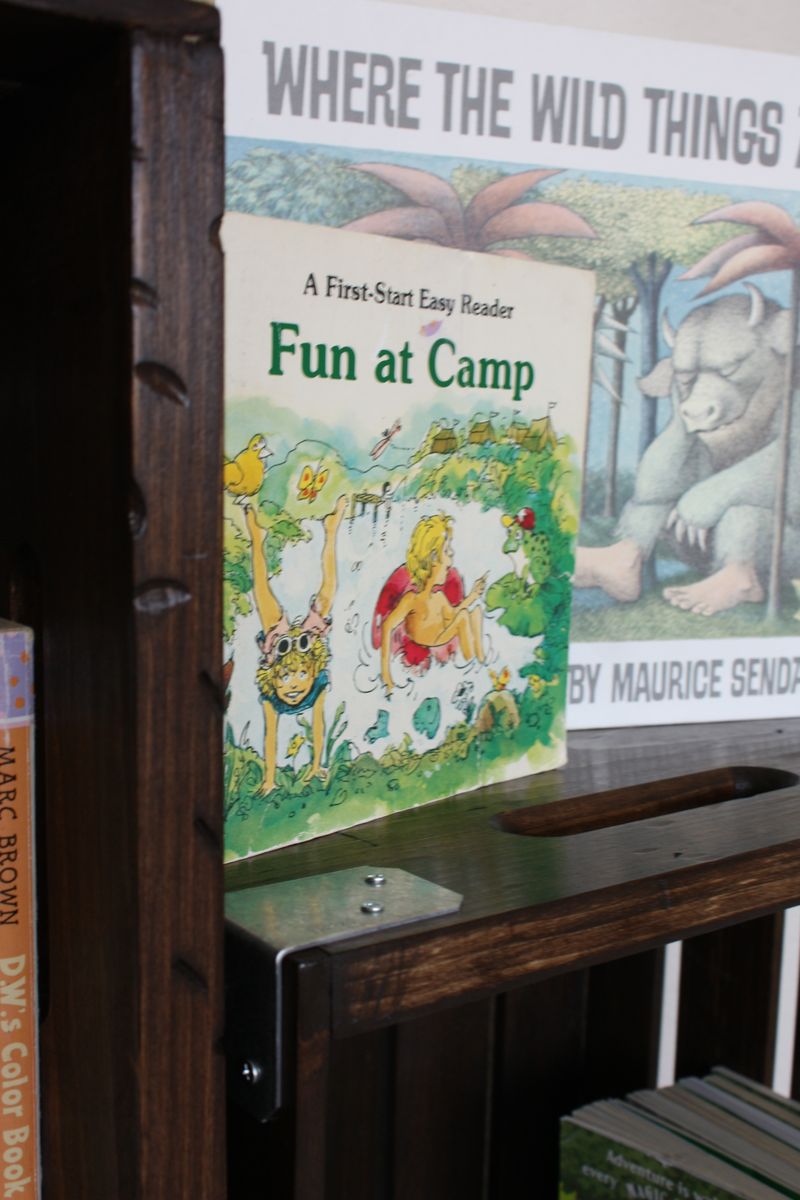
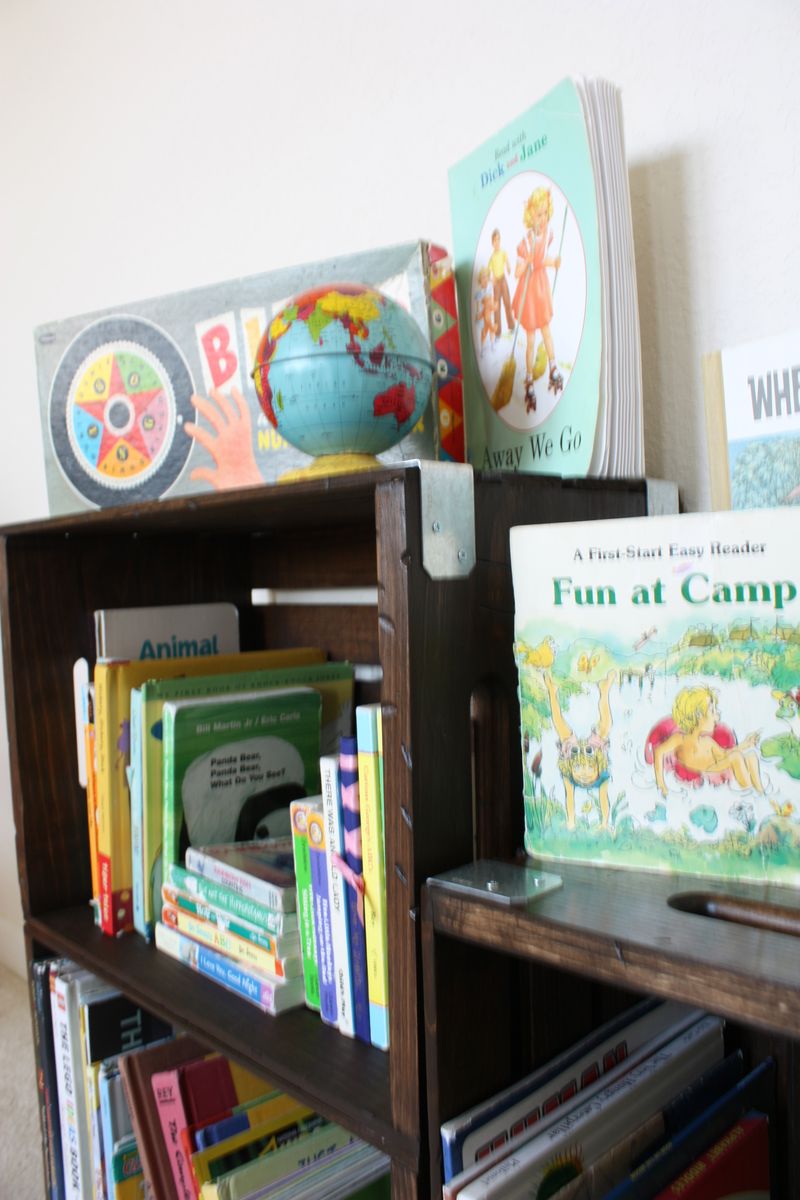
- Finishing touch. Screw on some corner brackets. (optional) They’re technically called “angles” and you can find them in the roofing section.
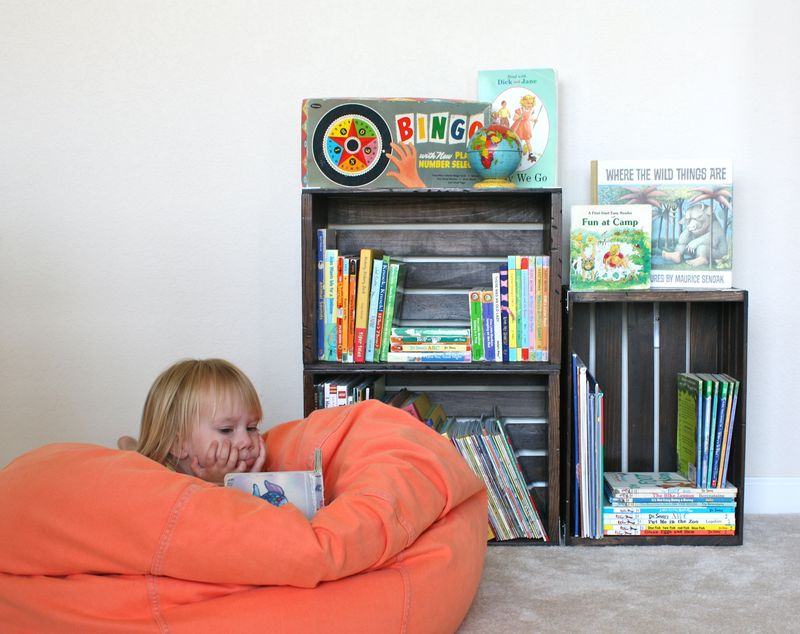
6. Configure & attach. I attached the two horizontal crates to one another with wood glue and some screws underneath. The vertical crate I left unattached so it can also double as a handy carrying crate/nightstand if needs be.
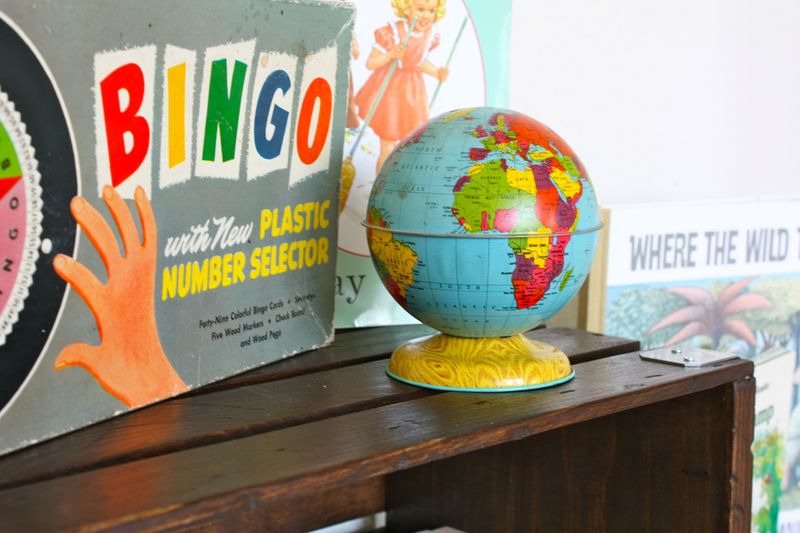
Now just fill up those shelves. We gathered all of our books inside the crates (the tall crate is perfect for those extra-tall books. We displayed a few of our favorite vintage goodies up top. And what reading nook would be complete without a comfy reading spot? Now the kids can add their favorite artwork to the walls and we’ll be all set.
Post by Christina Williams of justcallmechris.blogspot.com
