DIY Seashell Art
Post by Kim of Beehive Art
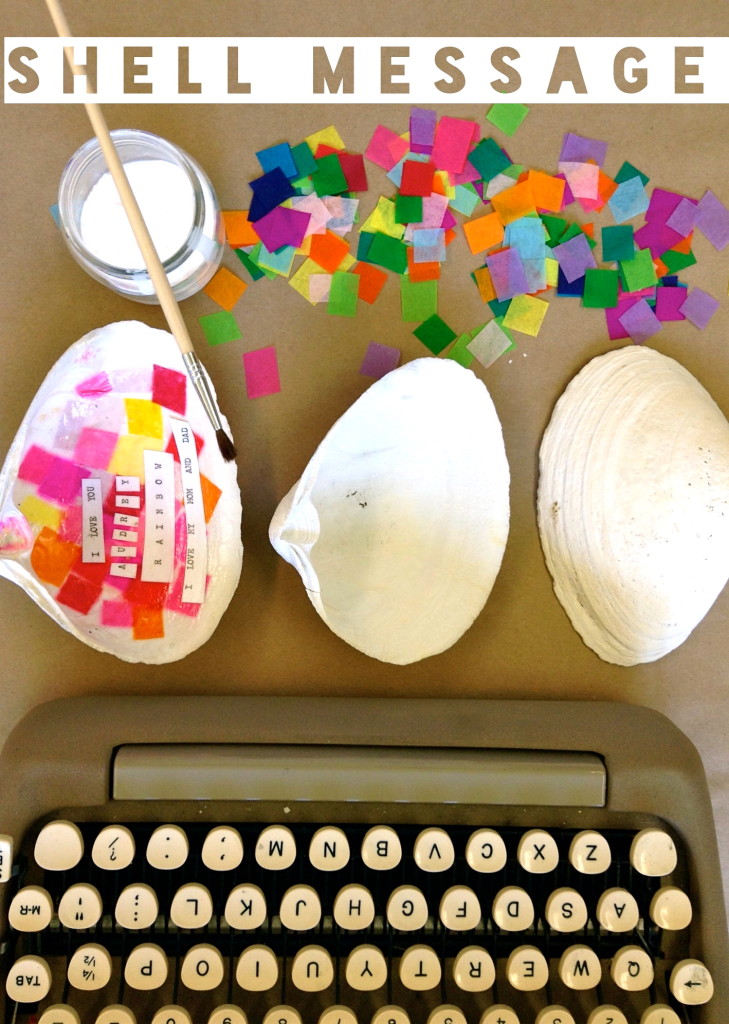
Next time you’re off to the beach, be sure to bring a bag and fill it with seashells. At the studio we always have a table set with watercolors and a basket full of shells to paint. There’s just something magical about painting along the smooth surface and watching the paint absorb into the shell. We also love to collage with colored tissues which is how this project came to be. I like to wash the shells and dry them in the sun before I work with them. While the shells are drying gather your supplies and cover your work surface with newspaper or kraft paper.
Supplies for DIY Seashell Art
- Seashells
- Colored tissue papers cut into small pieces
- Mod podge or white glue
- Glue brush
- Typewriter and paper
- Scissors
DIY Seashell Art Directions
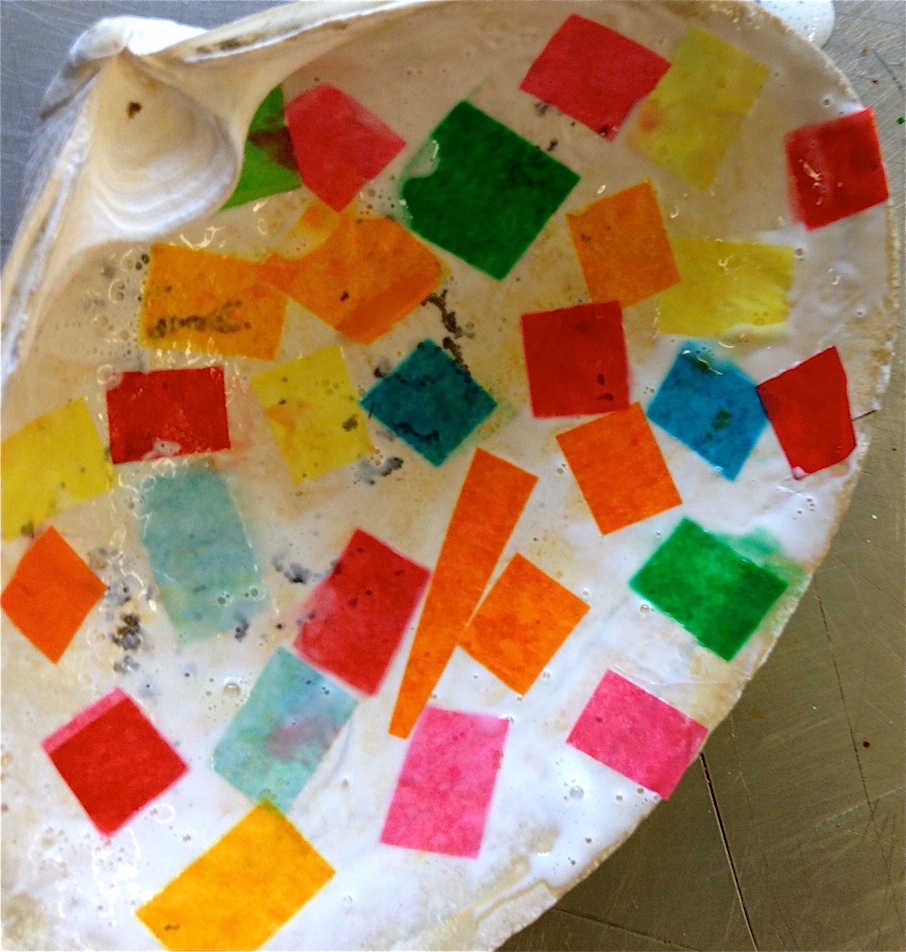
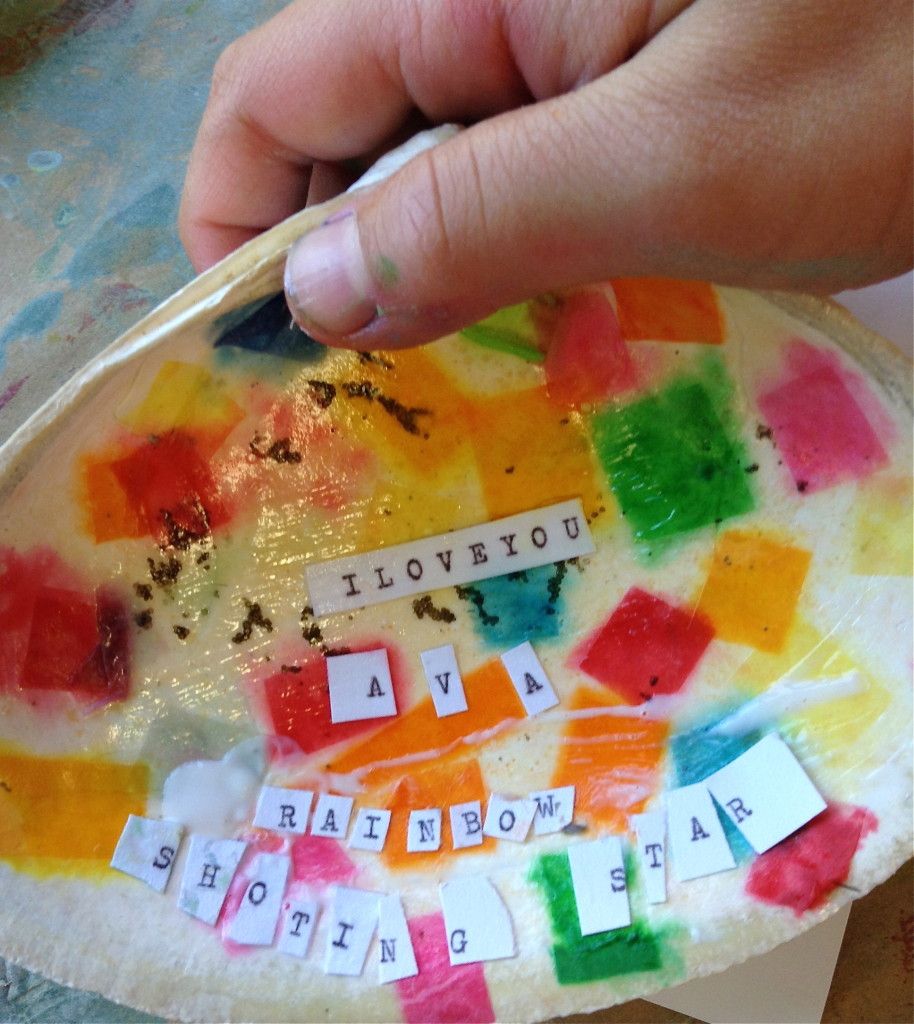
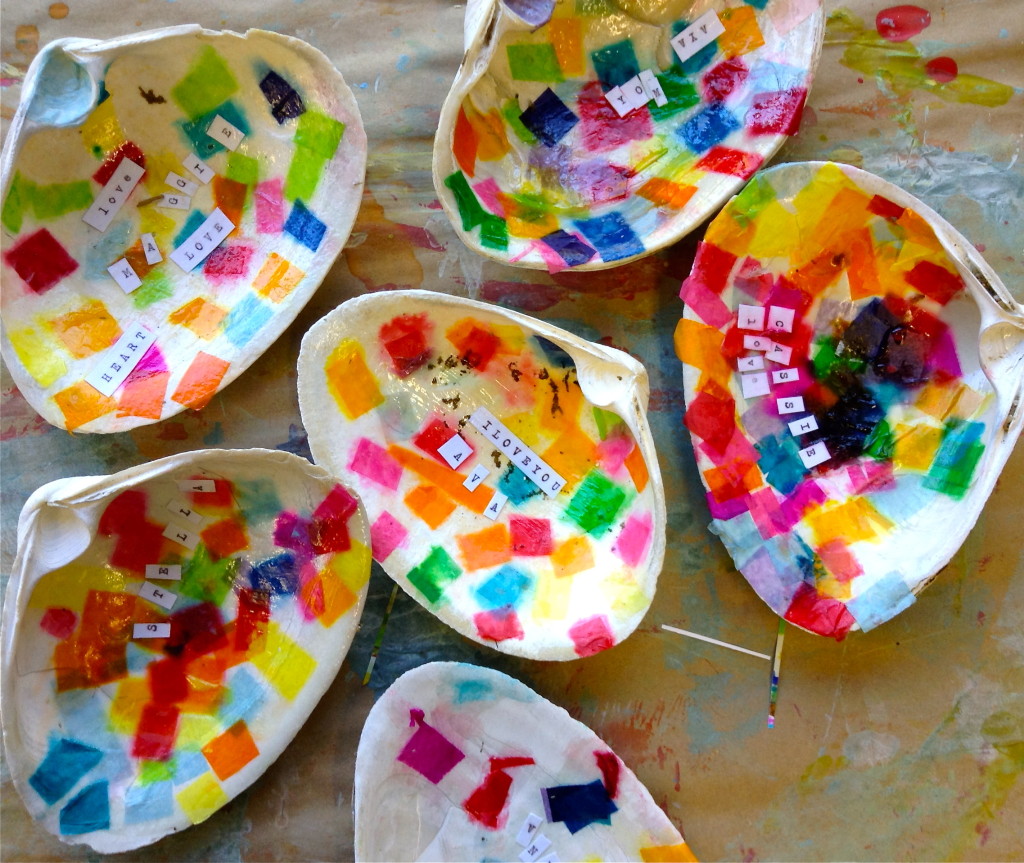
- Brush the glue to your shell and add tissue pieces. You can overlap the pieces, make a pattern or create a specific color combo. Be sure that your pieces of tissue lay flat. You can gently brush a thin layer of glue over the entire surface for a smooth finish.
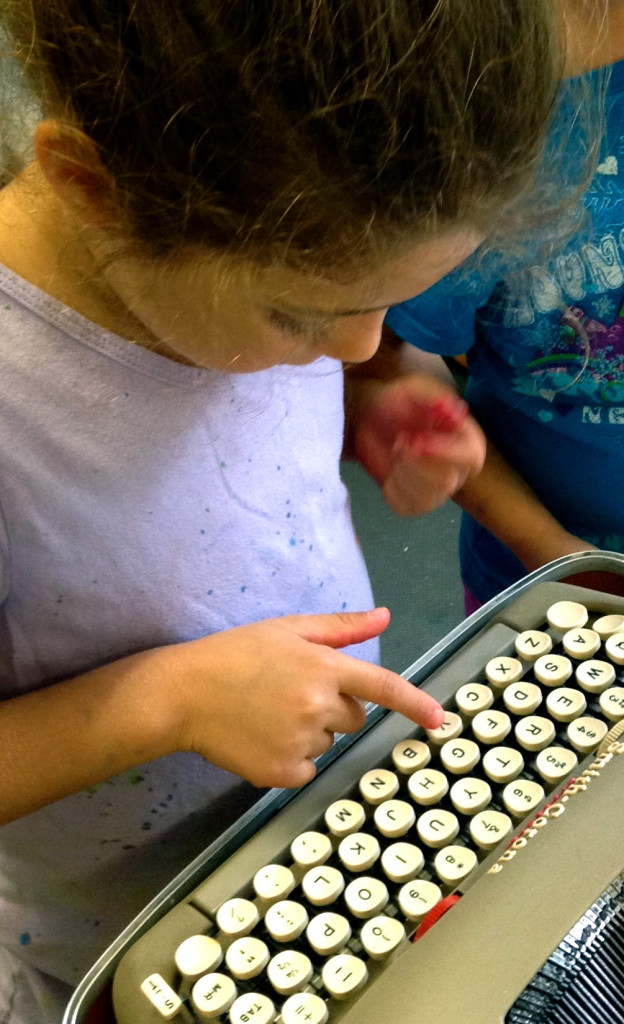
- While the tissue is drying, set up your typewriter with paper. Have fun composing your message… it can be a riddle, a poem or you can tell a story. If you’ve never used a typewriter you’re in for a treat, we can’t get enough of it! IF you don’t have a typewriter a hand printed message is really cool and fun too.
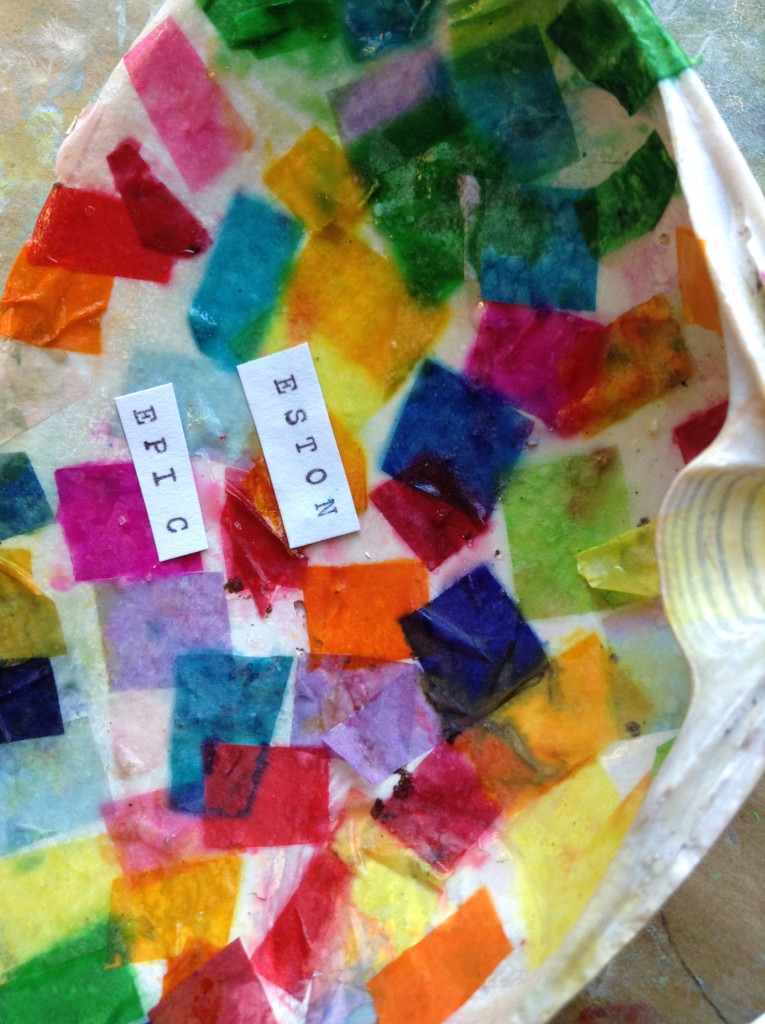 Cut out your words or you can get fancy and cut out individual letters… just keep track of the tiny pieces! Arrange them as you like on top of the tissue and secure with a teeny dot of glue.
- Let your shell message dry completely.
Kim Poler is queen bee of beehive ART. She lives for inspiring visual expression, explosions of colors, forms and exciting combinations of mixed-media art. She creates, designs art projects, teaches children art and blogs at Beehive Art.