DIY Shibori Bedding
Post by Kim of Beehive Art
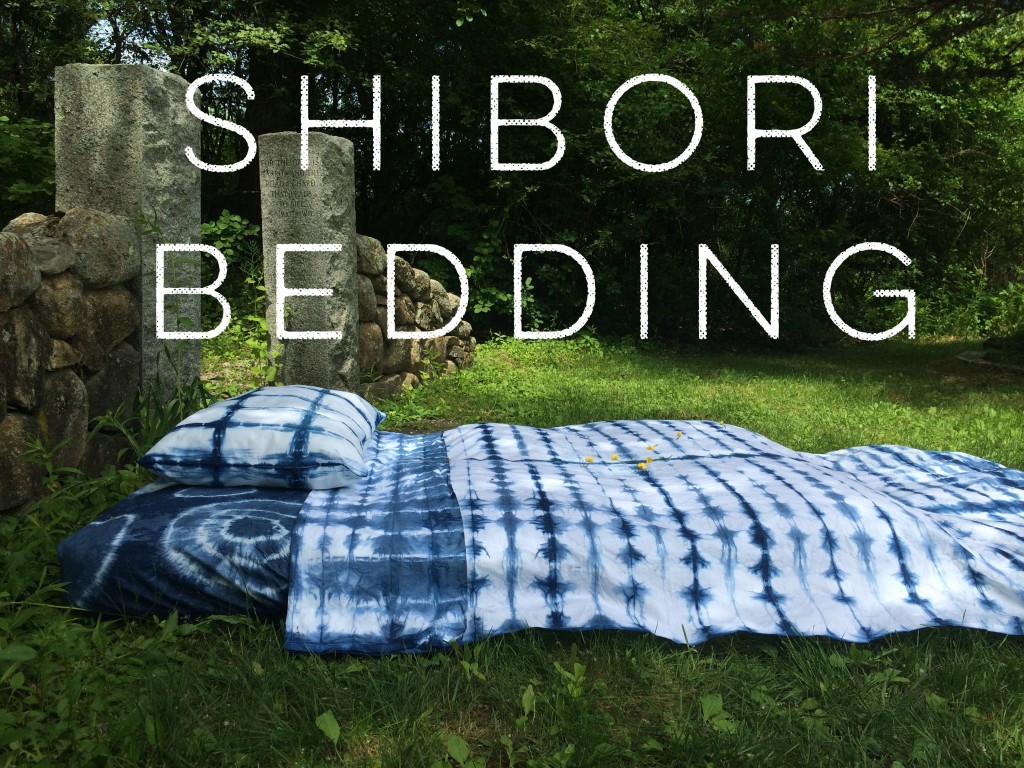
We’ve been up to our eyeballs at the studio in SHIBORI tie dye. If you haven’t tried this age old Japanese dyeing technique, add it to your summer fun list. AND what could be better to dye than a yummy 100% cotton sheet set from The Land of Nod!
Materials needed:
- Land of Nod sheet set
- Indigo dye kit
- Rubber gloves
- Extra large rubber bands
- Medium rubber bands
- Two 5 gallon buckets
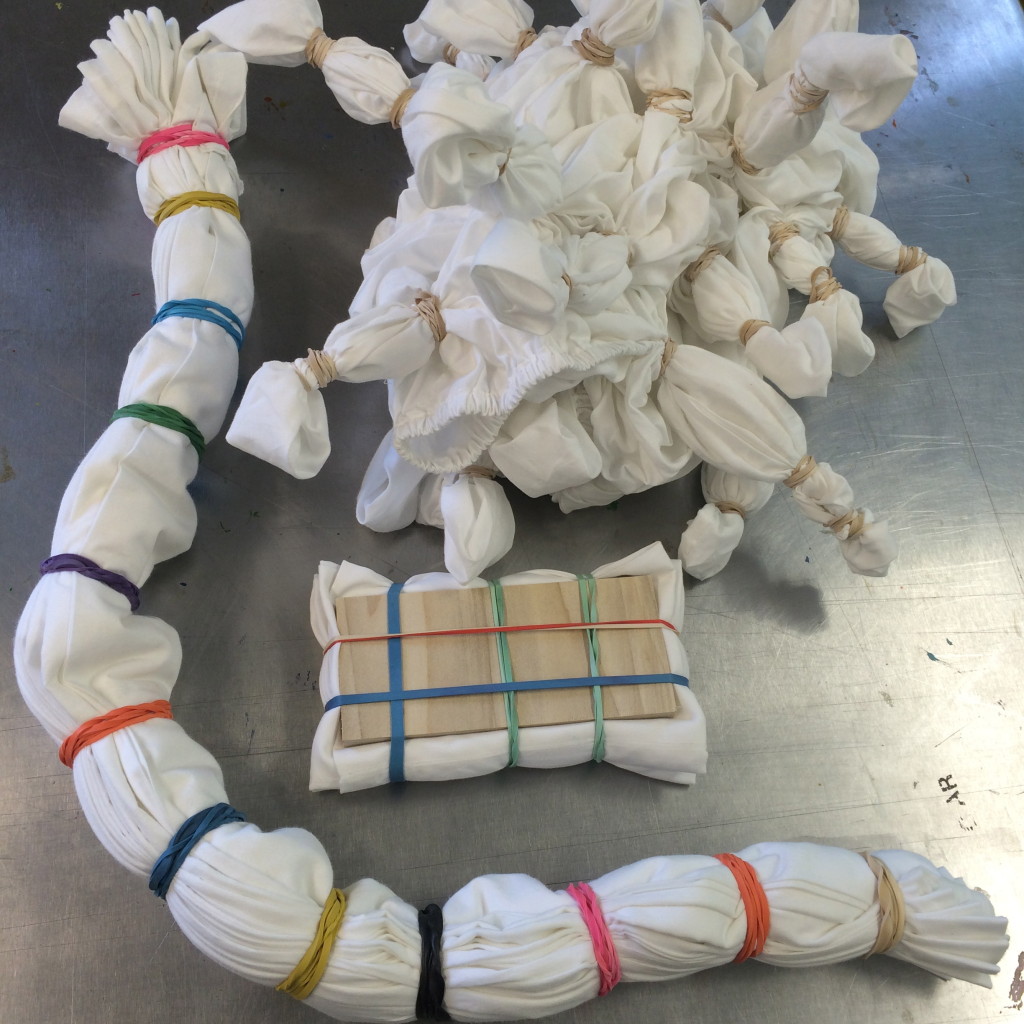
The first step is folding and binding your pillowcase and sheets.
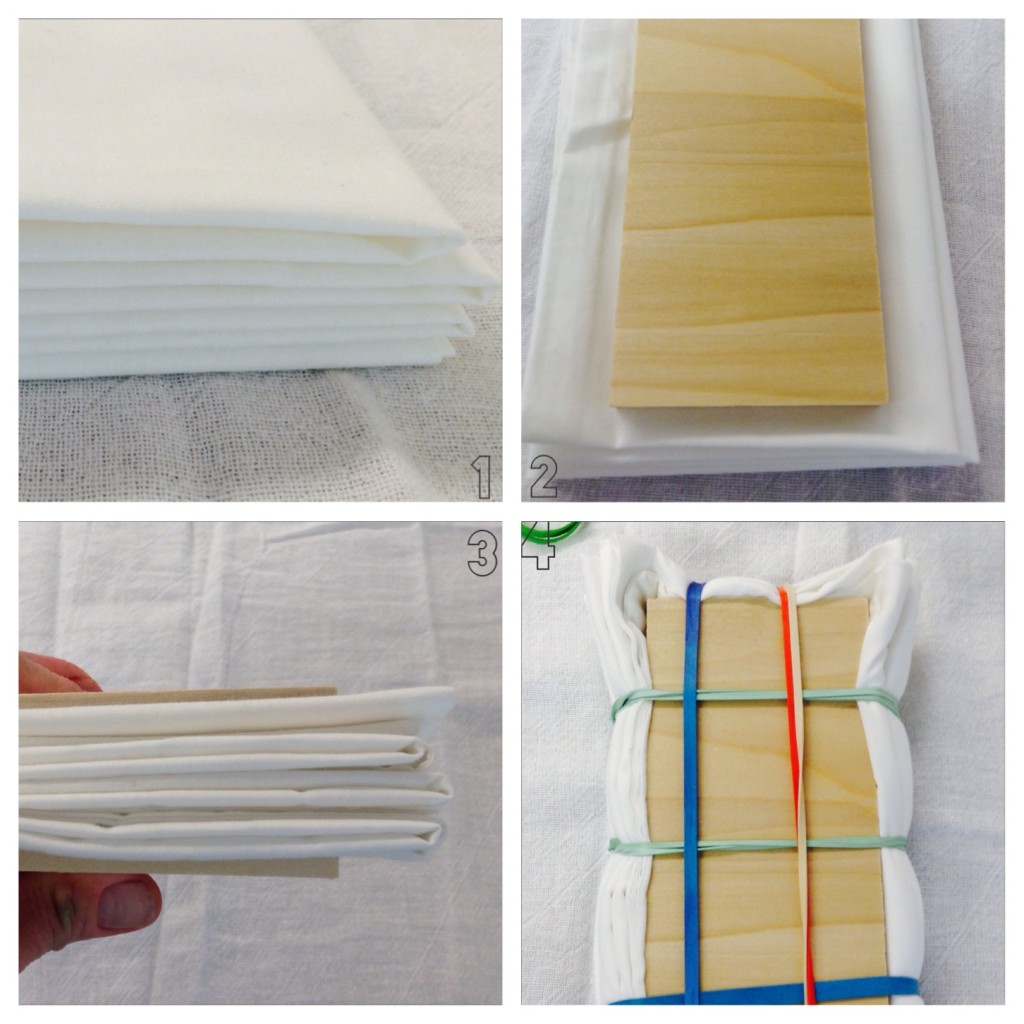
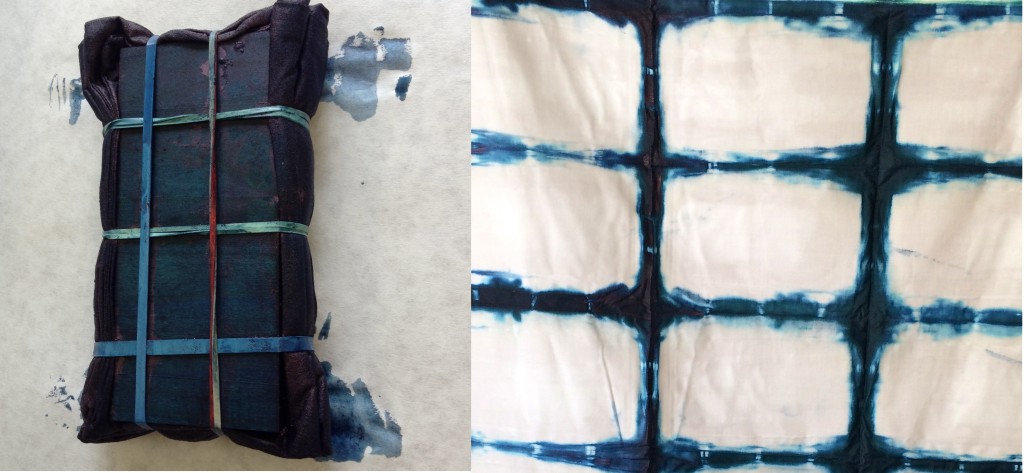
Pillow Case Shibori Bedding Directions:
- Fold fabric into an accordion, matching up edges neatly. I folded it lengthwise in quarters, and started folding the accordion from one end.
- Fit fabric to wood piece.
- Sandwich fabric between two pieces of wood.
- Secure tightly with rubber bands from all sides.
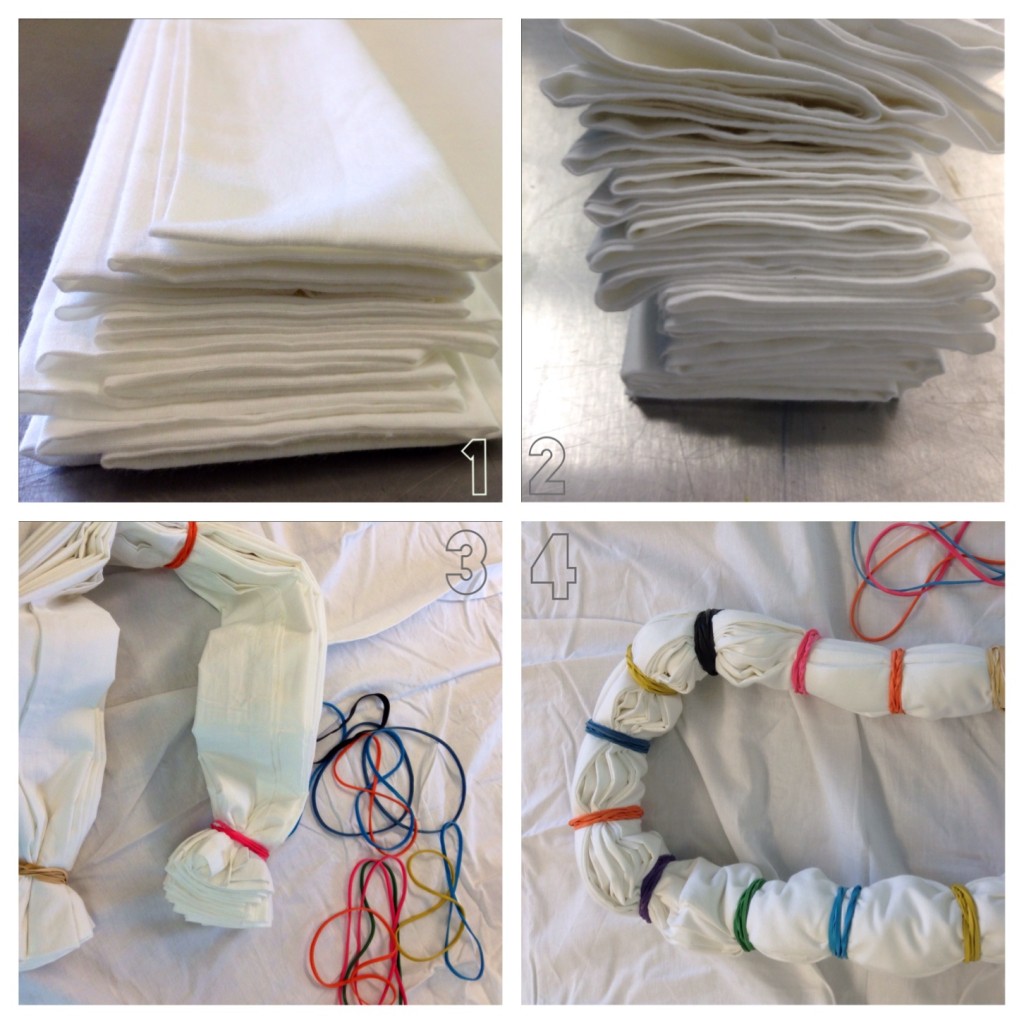
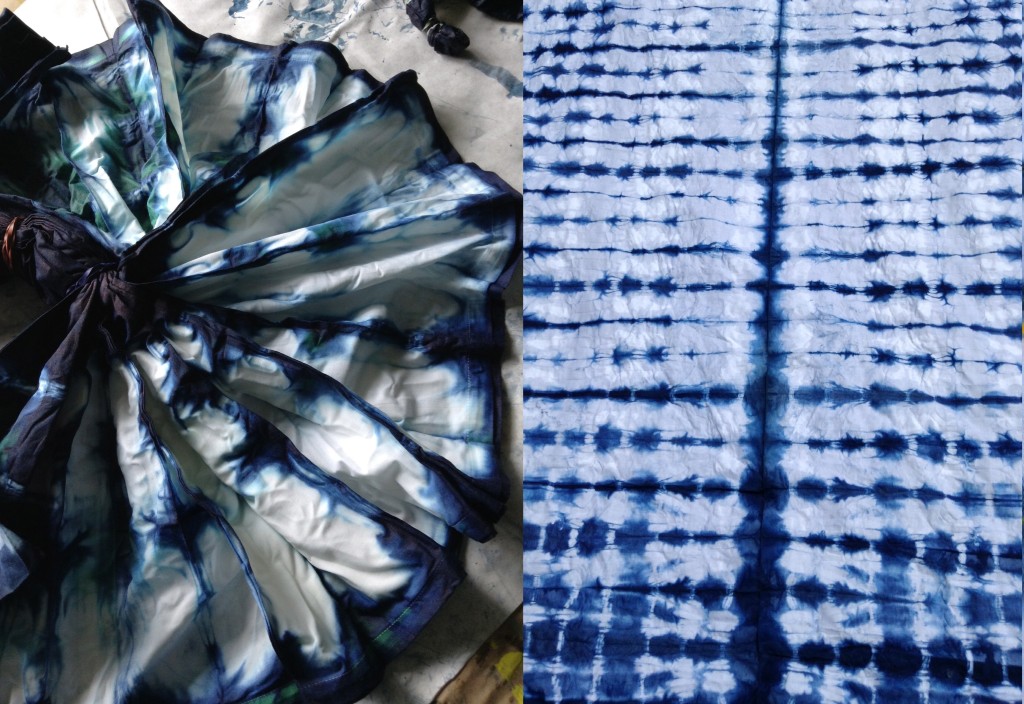
Flat Sheet Shibori Bedding Directions:
- Keep sheet folded in half lengthwise, and begin folding accordion from one end of the sheet. It’s a lot of fabric to deal with, go slow and take your time. The folding is key to a beautiful indigo dyed piece.
- Match up sides as best you can, smoothing out the layers of folded fabric. A long table, counter or clean floor will be the best place to fold this piece.
- Gently ease a rubber band to the middle of folded fabric. Wrap it tight keeping the folds in place. Secure both ends of the folded fabric with rubber bands. This will help keep the fabric from shifting when you add more rubber bands.
- Rubber band the entire length of the fabric. The more rubber bands you use the more intricate your design will be. The rubber bands need to be good and tight, this will take some work!
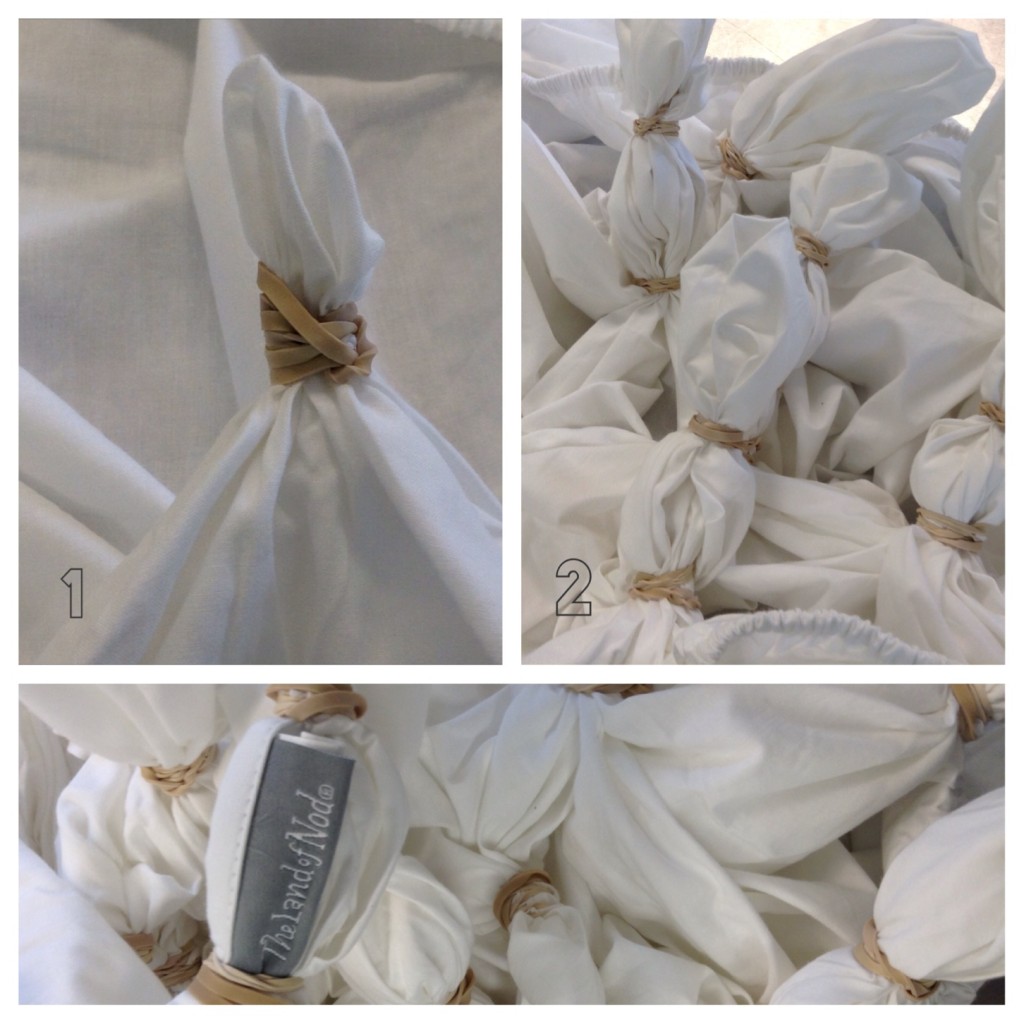
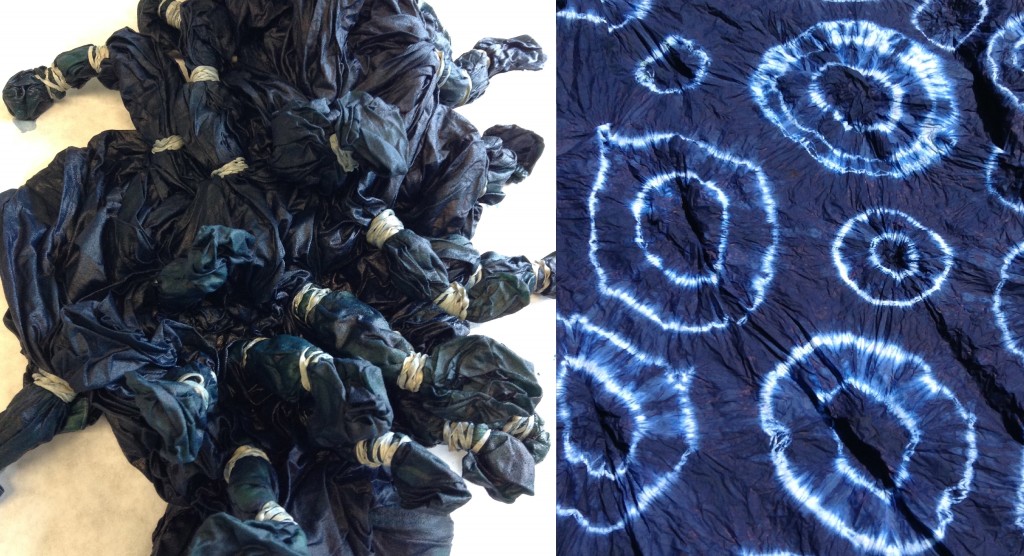
Fitted Sheet Shibori Bedding Directions:
- Spread the sheet out and gather and bundle of fabric from the center, pull it up and wrap rubber band around the bundle. Wherever you wrap the rubber bands the fabric will remain white. The tighter the rubber bands, the better the design and contrast of dye.
- Go nuts and add as many rubber bands as you can, this will take time and will be well worth it. To make multiple rings, add two or three rubber bands to each bundle of fabric.
Once all three pieces are bound with rubber bands, soak in a bucket of water while you prepare the dye vat.
This dye kit has great directions for preparing the indigo dye vat and dying techniques. Follow them closely and have fun with it, there are no mistakes!
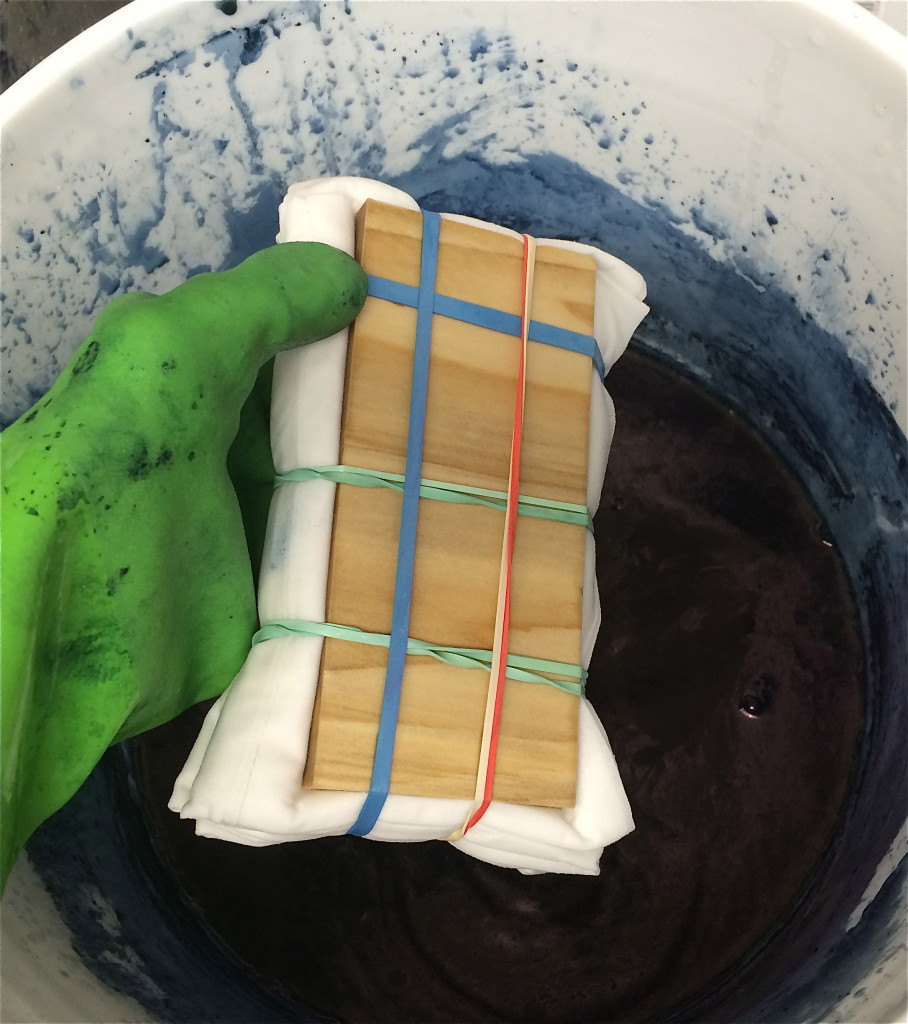
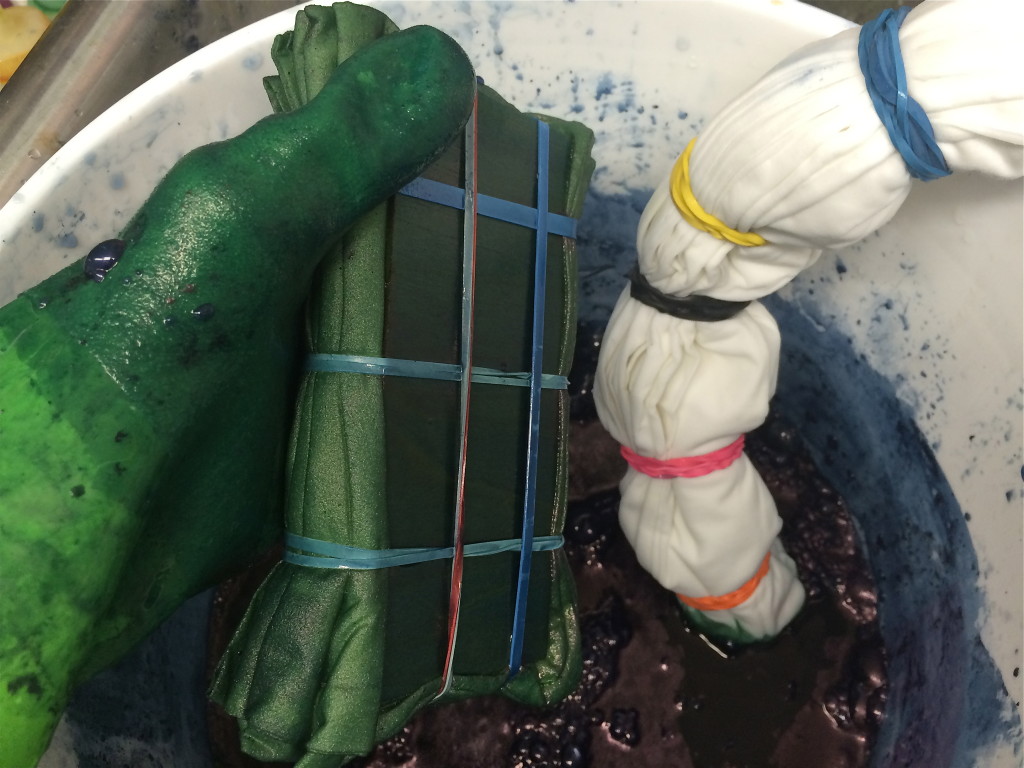
When you’re ready to lift the fabric out of the dye vat, it will be light green. As it oxidizes it will turn a deep shade of indigo blue. This is where the magic happens!
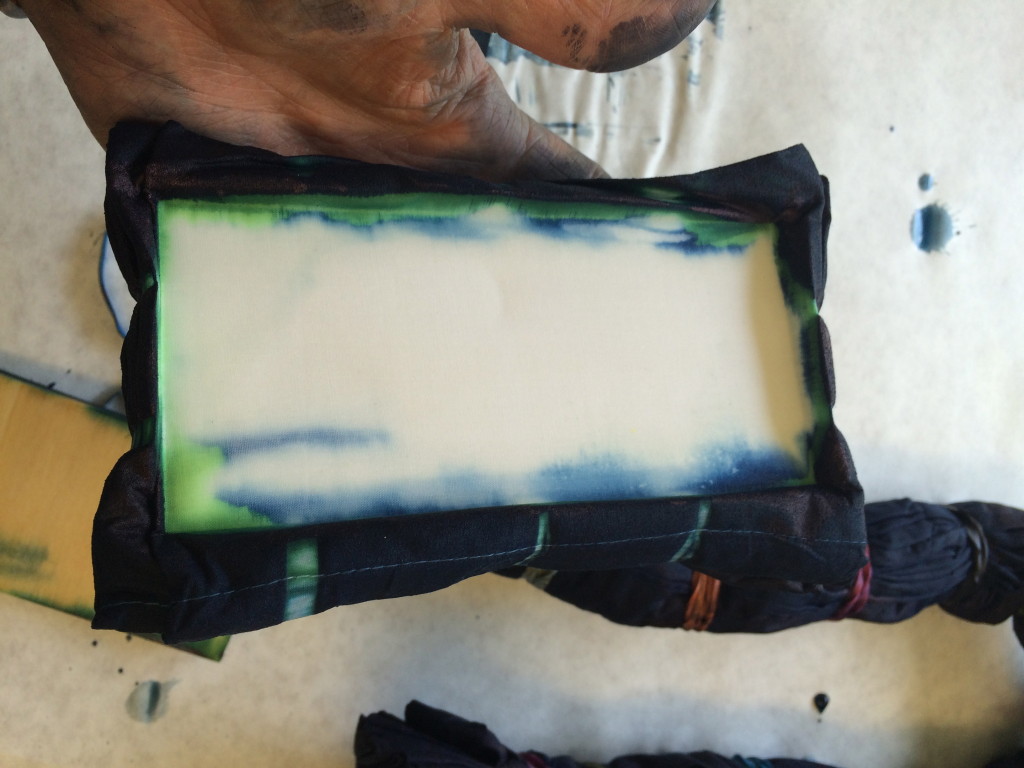
Finished flat sheet:
Finished pillowcase:
Finished fitted sheet:
I let the fabric sit overnight before removing the rubber bands. You can also dye the bundles again for a darker shade of blue. You will need a pair of scissors to remove the rubber bands and a bucket of water to rinse the fabric. Finally, machine wash in cold water. And if you’re itching to dye all things indigo, it’s your lucky day! The dye vat lasts for several weeks.
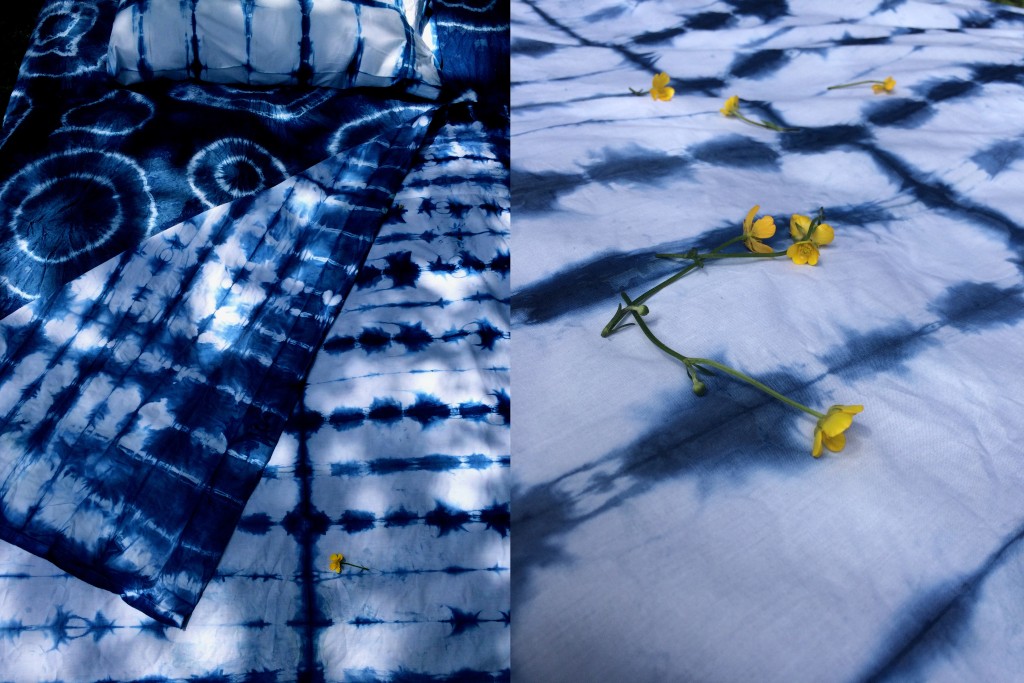
Happy DIYing your shibori bedding everyone!
Kim Poler is queen bee of beehive ART. She lives for inspiring visual expression, explosions of colors, forms and exciting combinations of mixed-media art. She creates, designs art projects, teaches children art and blogs at Beehive Art.