Yarn-Wrapped Letters
Post by Raechel of www.raechelmyers.com
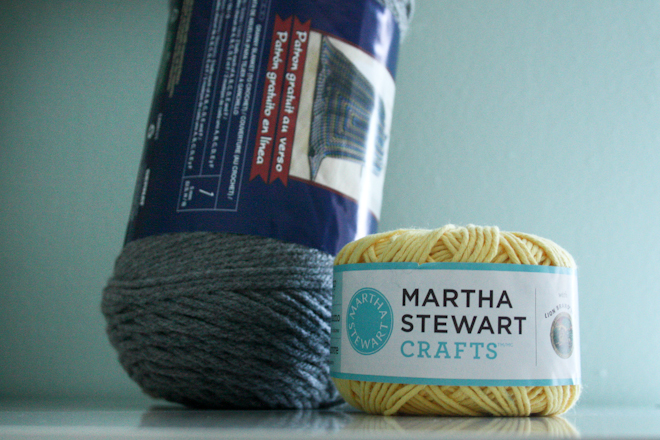
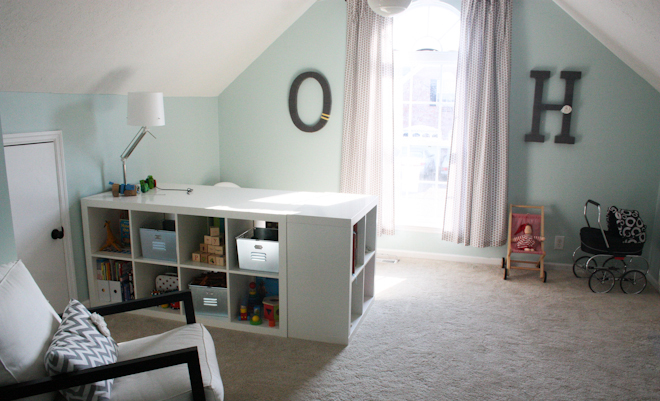
When I re-did the playroom in February, I wanted to add a crafty, personal touch to the window wall. I love a good project, and I needed something big, so I bought two giant cardboard letters (“O” and “H”, of course) and some pretty grey yarn at JoAnn’s one day while I was there with my neighbor.
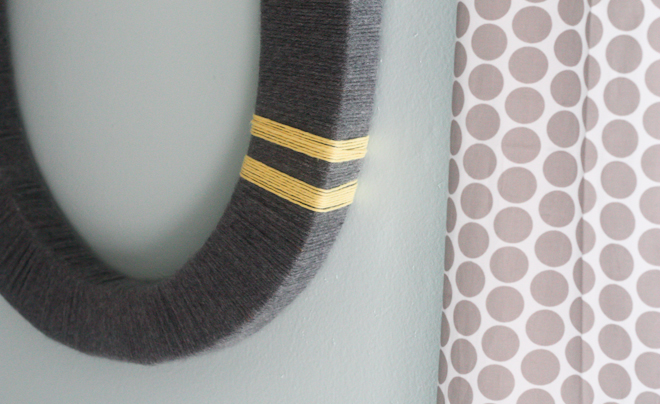
(I grabbed a small yellow too because I thought I might like to add rugby stripes to Oliver’s “O” to make it boyish.)
I really had no idea how I was going to pull it off, but I figured if I just started in one place and kept going, I would figure it out as I went. I photographed my progress on the “H” (I thought it would be a lot more tricky than the “O” and I was right!) because I thought it could be helpful to show y’all what I learned along the way.
Join me?
WHAT YOU’LL NEED:
- yarn – 1 skein did it for each letter
- hot glue gun and glue
- scissors
- big cardboard letter or symbol (I got mine at Jo-Ann, but that was before I knew the folks at The Land of Nod sell a great font in a good size for only $3.95/ea!)
GETTING STARTED
Before you begin, one thing I would suggest in retrospect that I did not do: paint (spray or brush) your letters the color of the yarn you’re using. That way, if you have any inadvertent gaps in your wrapping, it won’t be a big deal.
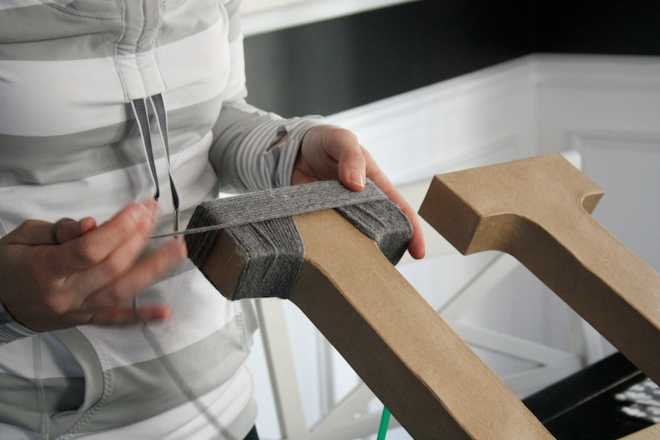
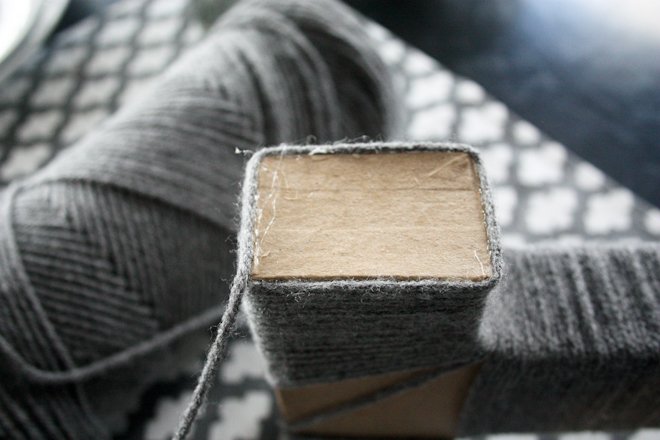
I began on one of the four ends, making sure the curves of my serif were covered nicely. I dabbed the end of the yarn with hot glue to get it started, but I didn’t use a lot of hot glue along the way because I didn’t want it to mess with the neatness of things.
I also decided not to be concerned with the very top and very bottom ends of the “H” because they were initially going to be set up on a shelf so no one would see that. With that in mind, I let the tops be messy and moved from the inside curves to the front and sides of the serif.
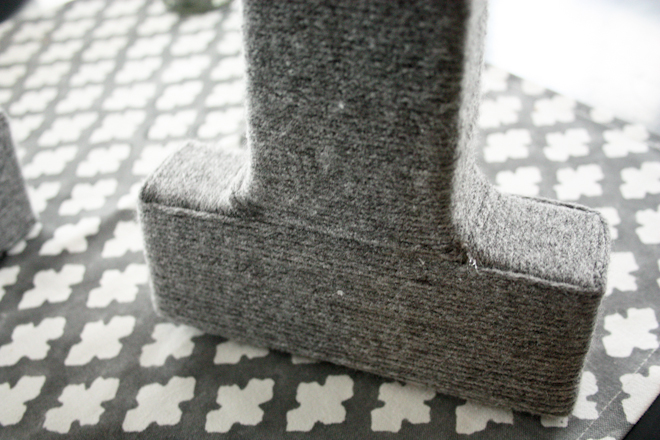
Working my way down the serif easily transitioned into the straightaway because I’d already covered the curves sufficiently.
I just wound my way down the straight part, sometimes fast and imprecisely a bunch of times, then I’d go back and slide it all gently up to make things look tidy and even again. It seemed to make things go faster.
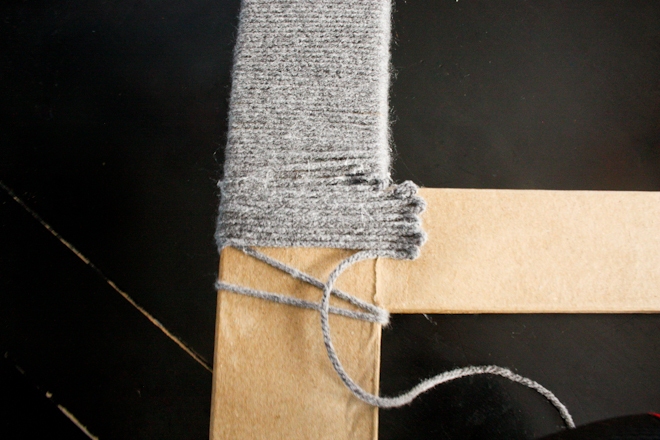
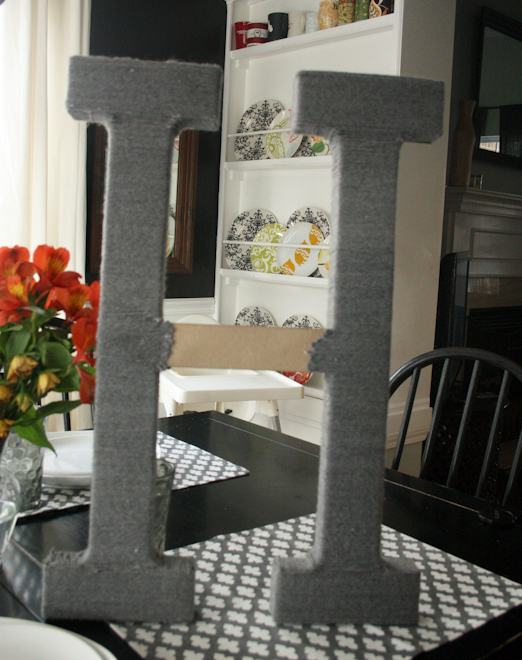
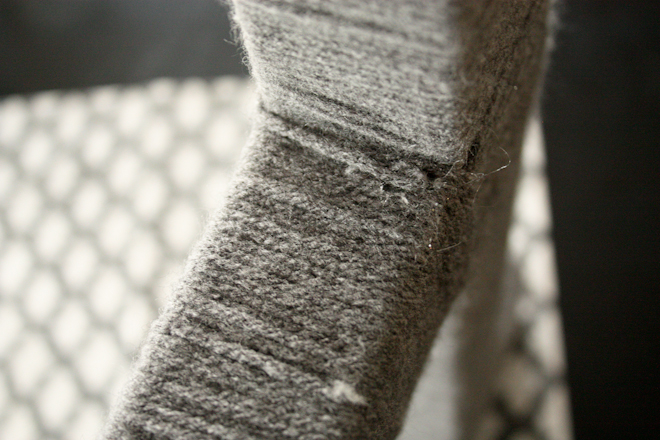
And when I got to the intersection, I had to make a decision.
My best idea was to fire up the hot glue gun again and make-believe a bunch of back and forth weaves until I got past the intersection. This took a little more care, of course. But I’m on the other side of it now and I can bear witness to the fact that this is totally the way to go!
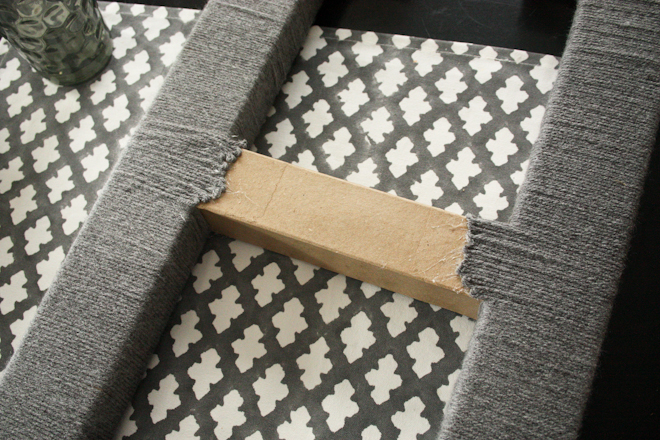
This is how it will look when you’ve gone down both sides.
See how it looks legitimate when I cover up all the crazy?
Okay, so after the intersection, go down the rest of the straightaway until you get to the serif on the other end. You’ll do this one a little differently.
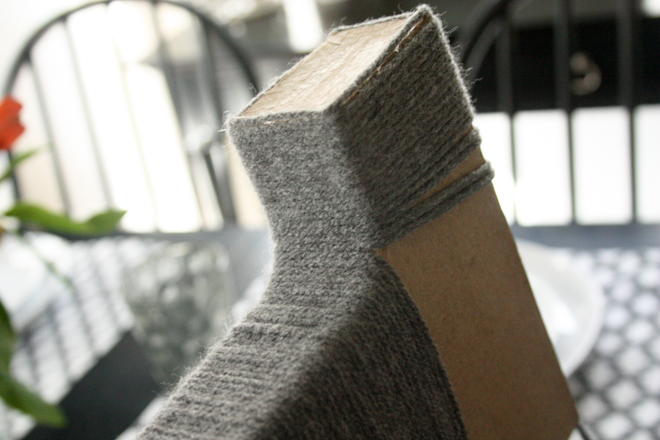
Transition directly from the straightaway into the curve. It’s so neat and tidy – feels awesome.
Be generous with your hot glue as you reach the edges, then, as seamlessly as you can, begin wrapping in the other direction to cover the front side of the serif.
See what I mean?
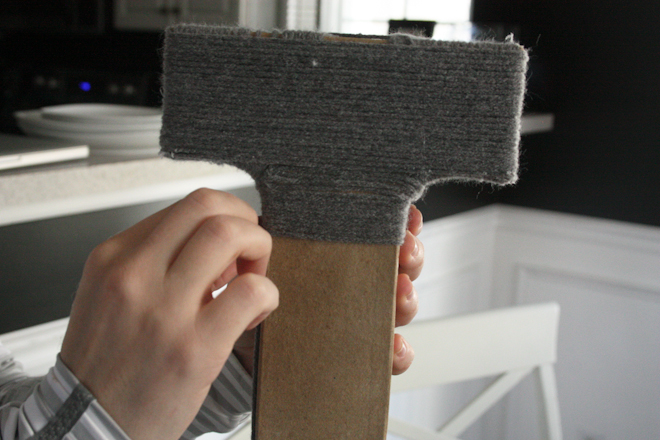
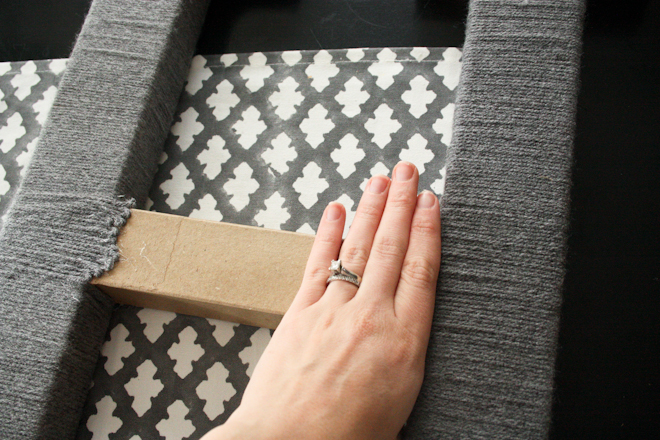
So now, once you’ve done that on both sides of the “H” (yes, I realize that there’s a pretty good chance you’re not actually wrapping the letter “H”, but hopefully these method will work for lots of letters!), all that’s left is the middle!
Start with a dab of hot glue and wrap all the way across. And that’s it – you’re finished!
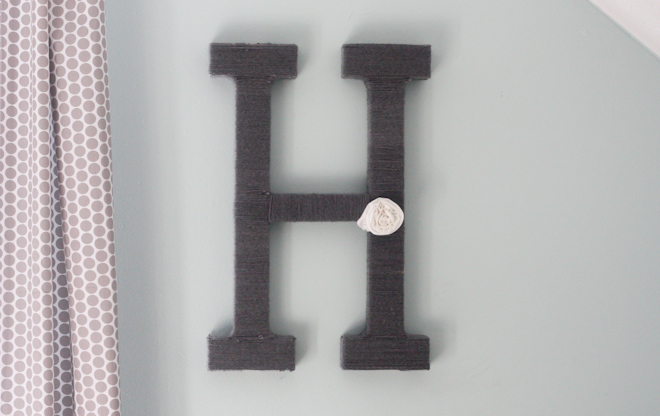
Here’s my pretty little “H” all finished. I made a pretty little flower with some white knit fabric and pinned it on. You know, to make it girly.
And in case you were wondering about the “O”, it’s really just as simple as you would imagine.
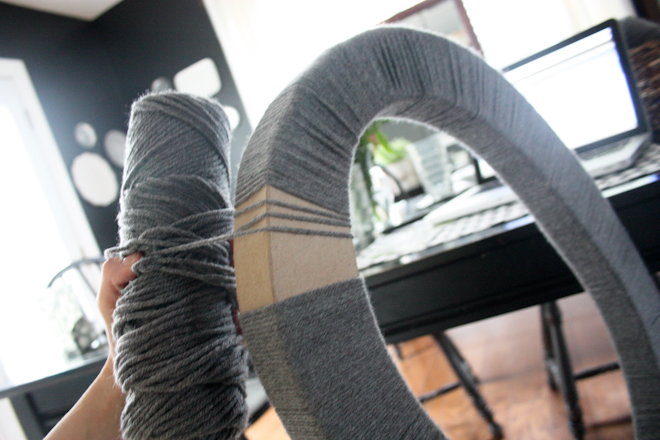
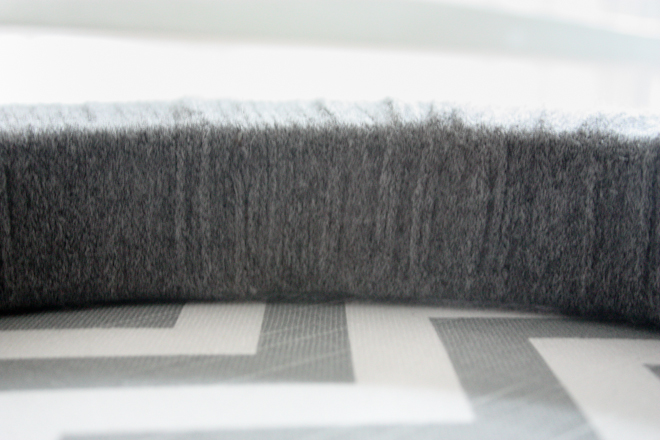
Just wrap and wrap and wrap! (And hope that your skein is smaller than the hole in your “O”!) Because of the curve, it will naturally be tighter on the inside and looser on the outside. Just find a happy medium so that none of the brown letter shows through your wrapped yarn.]
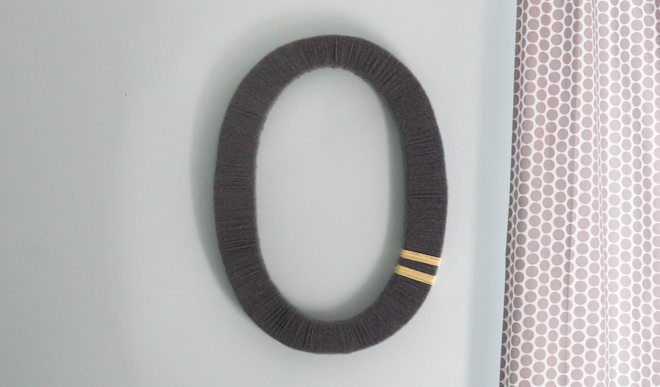
And here’s Oliver’s completed “O”. I went ahead and wrapped a couple of yellow rugby stripes over the grey on one side to make it boyish. I like it!
And just like that, I got to do a really fun and relatively mindless project that made a big splash in the kids’ playroom.
It could be fun to get fancy with colors and things. My internetty friend Jodi wrapped an ampersand in a cool, oat-y color for her twins’ nursery. Oh, the possibilities!
Have a lovely Thursday, friends! Go – get crafty!
Post by Raechel of www.raechelmyers.com
